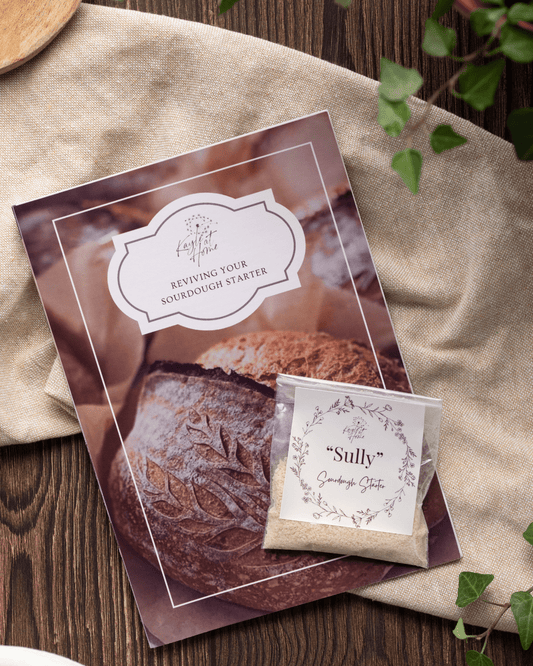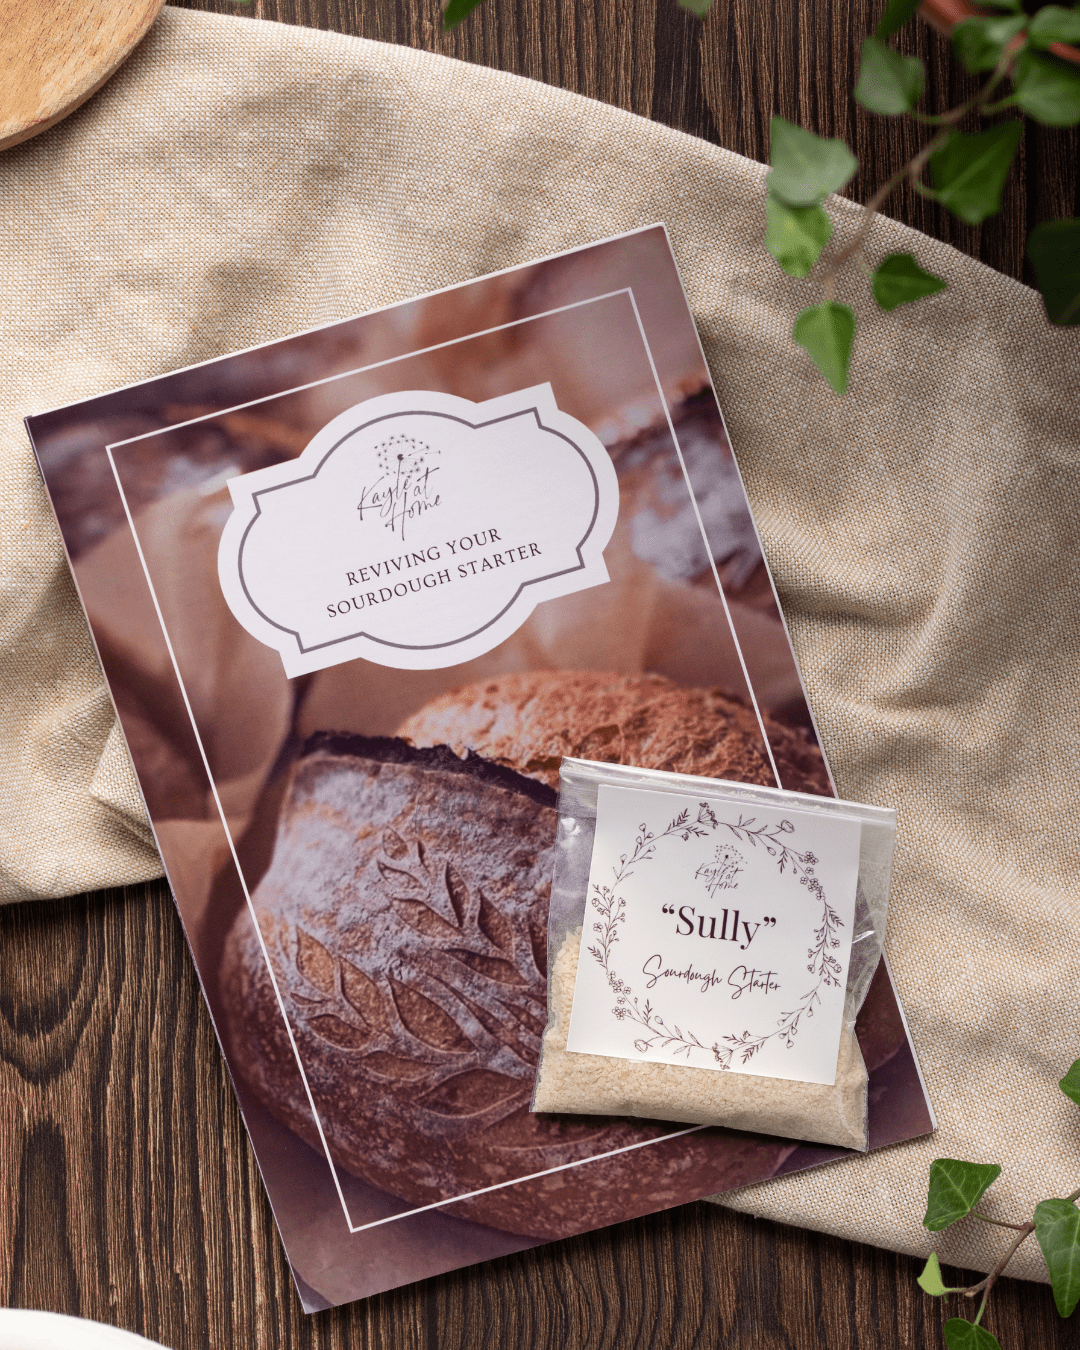
Sully Sourdough Starter Rehydration Instructions
What You’ll Need to Revive Your Starter:
- Equipment: A glass jar with a lid or wax wrap, small spatula, and kitchen scales.
- Ingredients: Dried sourdough starter, unbleached bread flour (I recommend Doves Organic or Shipton Mill), and filtered water.
Welcome to the Sourdough Madness!
Day 1
Add 15 grams of dried sourdough starter in a small glass jar. Add 30 grams of filtered water at (100°F/38°C) and stir until the starter is fully submerged.
Cover the jar loosely with a lid and let it sit for 1 hour at (76°F/24°C) or room temperature.
After an hour, add 15 grams of unbleached bread flour (I recommend Doves Organic or Shipton Mill No. 4). Stir thoroughly with a spatula until the mixture is smooth. Cover the jar again and store it at (76°F/24°C) for 24 hours. Note: Using slightly more water than flour in this feeding creates a thinner mixture, encouraging yeast and bacteria to wake up and get active.
Day 2
The mixture will look smooth with minimal to no bubbles. Some tiny signs of life (a few bubbles) might appear, but don’t worry if it’s still sluggish it’s waking up! If it’s still very inactive, give it 12 more hours before feeding.
Feed the Starter: Add 80 grams of warm water and 80 grams of unbleached bread flour to the jar. Stir well until combined, cover, and store at (76°F/24°C) for another 24 hours.
Day 3
Your starter should now look much more lively, with visible bubbles and a hint of activity. It’s not quite doubling in size yet but is showing great progress.
In a 500-gram jar, combine 100 grams of the mixture (Discard), with 100 grams of warm water, and 100 grams of flour. Stir until smooth, cover, and store at (76°F/24°C) for another 24 hours.
After about 5 hours, your starter should be alive and well, bubbling vigorously and doubling in size. ITS ALIVE!
Feeding your starter after arrival
This is a process you will repeat daily if you keep your starter at room temp.
Step 1
Stir the starter well, scoop 100 grams of your revived starter into a clean, fresh jar (400–500 grams is ideal no bigger or smaller).
Step 2
Add 100 grams of room temperature water (around 26°C) and 100 grams of white flour (Doves Organic or Shipton Mill are my go-to choices). If using alternative flours, note that fermentation timing may differ since ingredients break down faster.
Step 3
Mix all ingredients together until smooth, ensuring no lumps remain. Cover with a jar lid or wax wrap. Make sure your jar is large enough, as the starter can double or even triple in size when it becomes active!
As your starter grows, you’ll notice it gradually begin to sink don’t worry, this is completely normal! While it deflates, it’s busy forming the acids that give sourdough its signature tangy flavour.
Note:
Your starter needs a little extra care after its journey through the post. To get it fully thriving, you’ll need to repeat the feeding process again the day after delivery. These first two feeds help it recover from any stress during transport.
Once revived, continue feeding your starter every 12–24 hours if you plan to use it regularly. The feeding schedule you choose depends on your baking habits and the starter’s activity level.
The time it takes for your starter to fully activate can vary it might be a few hours or all daydepending on its health and the temperature of your home. Here’s a helpful rule:
- Warmer temperatures (around 26°C/79°F): Your starter will grow faster.
- Cooler temperatures: Growth will slow down.
If your home is on the cooler side, consider placing your starter in a slightly warmer spot, like near an appliance or in a cozy corner. Just make sure to keep it out of direct sunlight.
Ready to Bake Your Own Bread?
My step-by-step instructions in the Beginners Guide to Sourdough to make the process easy and approachable. You can also follow along with my video here. Happy baking!